Finally! My last big sewing project is finished; I will never ever do so many large projects with close deadlines again. I miss my horses. I haven't ridden in two weeks.
Wow. I have planned this dress ever since March. I originally wanted to make a repro of Kiera Knightley's ball dress from Pride and Prejudice; however, as the time came near for me to actually buy the fabric, ideas started pouring from my brain.
This was the dress that I wanted to make:
The first problem I had to overcome was that no one sells a v-neck Regency dress pattern. So, after sharing thoughts with Lizzy, she gave me the brilliant idea to pin my fabric the way I wanted it (taking two pieces of fabric and crossing them the way I would want them to cross), then laying out the pattern piece across it and cutting it out on a sheet. Then you have two mockup pieces.
One thing I don't care for about the dress above is it is not really Regency at all. The waistline is far too low; it should have stopped more up high.
An idea that I totally loved a long time ago was to put several rows of pleats down the front neckline. So what I did was I took an old sheet and pinned 5 rows of pleats in. Then, in front of a mirror, I draped the fabric in a rough imitation of how I wanted them to cross in the front, then pinned the two pieces together. Keep in mind, it hadn't been cut with the pattern yet. I laid out the pattern piece over it and then cut it out.
I used the pattern on the left
I basted the pieces together and then tried it on.
I am rather familiar with the pattern and was aware that I would need to lengthen the bodice considerably; I have already made 2 other dress and the same problem came up. So I added 2 inches to the front and back. I also wanted the shoulder seams to come up higher, so I added some more in that area as well.
So then I went to the fabric store (one of the best parts!) and bought the fabric. I had an idea to use really light tan sheer over cream muslin; however, the costume sheer was on sale for $1.50 a yard and the only color that came close was gold. I considered gray, but again, in the costume sheer color was more of a silver.
I ended up buying cream costume sheer and cream muslin. I was really excited about the muslin; it was $10 dollars a yard. That may sound like a lot, but it was high quality and wouldn't need a lining and it was 90'' wide! So I only needed 2 1/2 yards. Altogether, I didn't spend that much money.
I really do not care for the skirt in the pattern, because it is very very straight and does not flow. I really wanted a flowy dress. I already have a dress that I could have worn to the ball; it is plain black with a empire waistline and a nice flowy skirt. So I laid out my fabric and folded the dress's front skirt piece and lined it up with the fold. Making a line with pins, I pinned all the way around the outline of the black skirt and adding seam allowances all the way around. Removing the dress, I cut it out the fabric and thankfully held it up to me before continuing.
I am so thankful I did so, because I realized that I had cut the skirt too narrow at the top to line up at the very side; it came more in front and wasn't wide enough. So I cut the skirt back with an extra several inches so that the side seams were more in front. Miraculously, by the time I was done, it somehow ended up exactly on the side. Don't know how I managed that....
For the bodice, I ripped my sheet mockup apart and used them as pattern pieces, adding where I already mentioned. After basting all the sheer pieces together, I realized that the pleats on the front neckline were terribly annoying to work with. After ironing them like 3 times and it still wouldn't stay (it made good creases!) I finally took a needle and, using threads pulled out of the sheer fabric, tacked down the pleats every so often. It took forever to pull all the sheer threads out, and by the time I was done I realized, too late, that it didn't hold the pleats down when I put it on and unattractive pock marks showed. Uggh. So I ripped the tiny stitches out.
I was now baffled as to how to keep those pleats down. So I ran to Lizzy for help and she gave me several good suggestions, most requiring to re-cut new pieces of fabric. I had plenty of fabric left, but I really did not want to start over. However, she did give me another suggestion as to how to sew the pleats down.
This new method was taking a needle and thread and pushing the needle out the pleat, and then down into the fabric. This took a while too, and I wasn't super pleased with the outcome, but I was stuck and ready to move on.
Gathering the bodice front, I decided I wanted a waistband. Sewing the bodice to the waistband was tricky; I don't know why, but it took forever to line up.
By the time it was all sewn together, I discovered I had made a mistake somehow in that the back pieces did not overlap, but barely touched. Mom had the brilliant idea to sew a placket to the back. Making the placket was easy, but because the back was rather crooked, I had to try it on several times to make sure it was tight enough in certain spots, but still crossing in the back.
I was pleased to discover that the weight of the skirt helped pull the pleats down, keeping them straight and helping to hide the tacking stitches.
The sleeves were a bit funny, because I didn't want puffed sleeves or cap sleeves, like in the pictures above. I really like the idea of making a circle sleeve, where you cut out a half circle and sew the straight side to the armhole. Since I didn't have a pattern, I measured all the way around the armhole and the free-handed a circle with that circumference. To make an underarm seam, I added a little curve and cut it straight on the edge of the round edge. Because I only used sheer for the sleeves, I had to hem the edge of the sleeve and make sure the edges underneath and the armhole seams were very clean cut and straight because you could see right through.
Poor Mom; she had to pin the hem up several times before getting it straight because the sheer was so slippery.
It's cool, because the buttons on the back were given to me from my Grandma, and she got them from her Grandma. It didn't take any time at all to get them and the buttonholes sewn on.
I think I am in love with large hook and eyes. My new favorite tool! Every dress needs one.
Note to self: small hook and eyes are worthless.
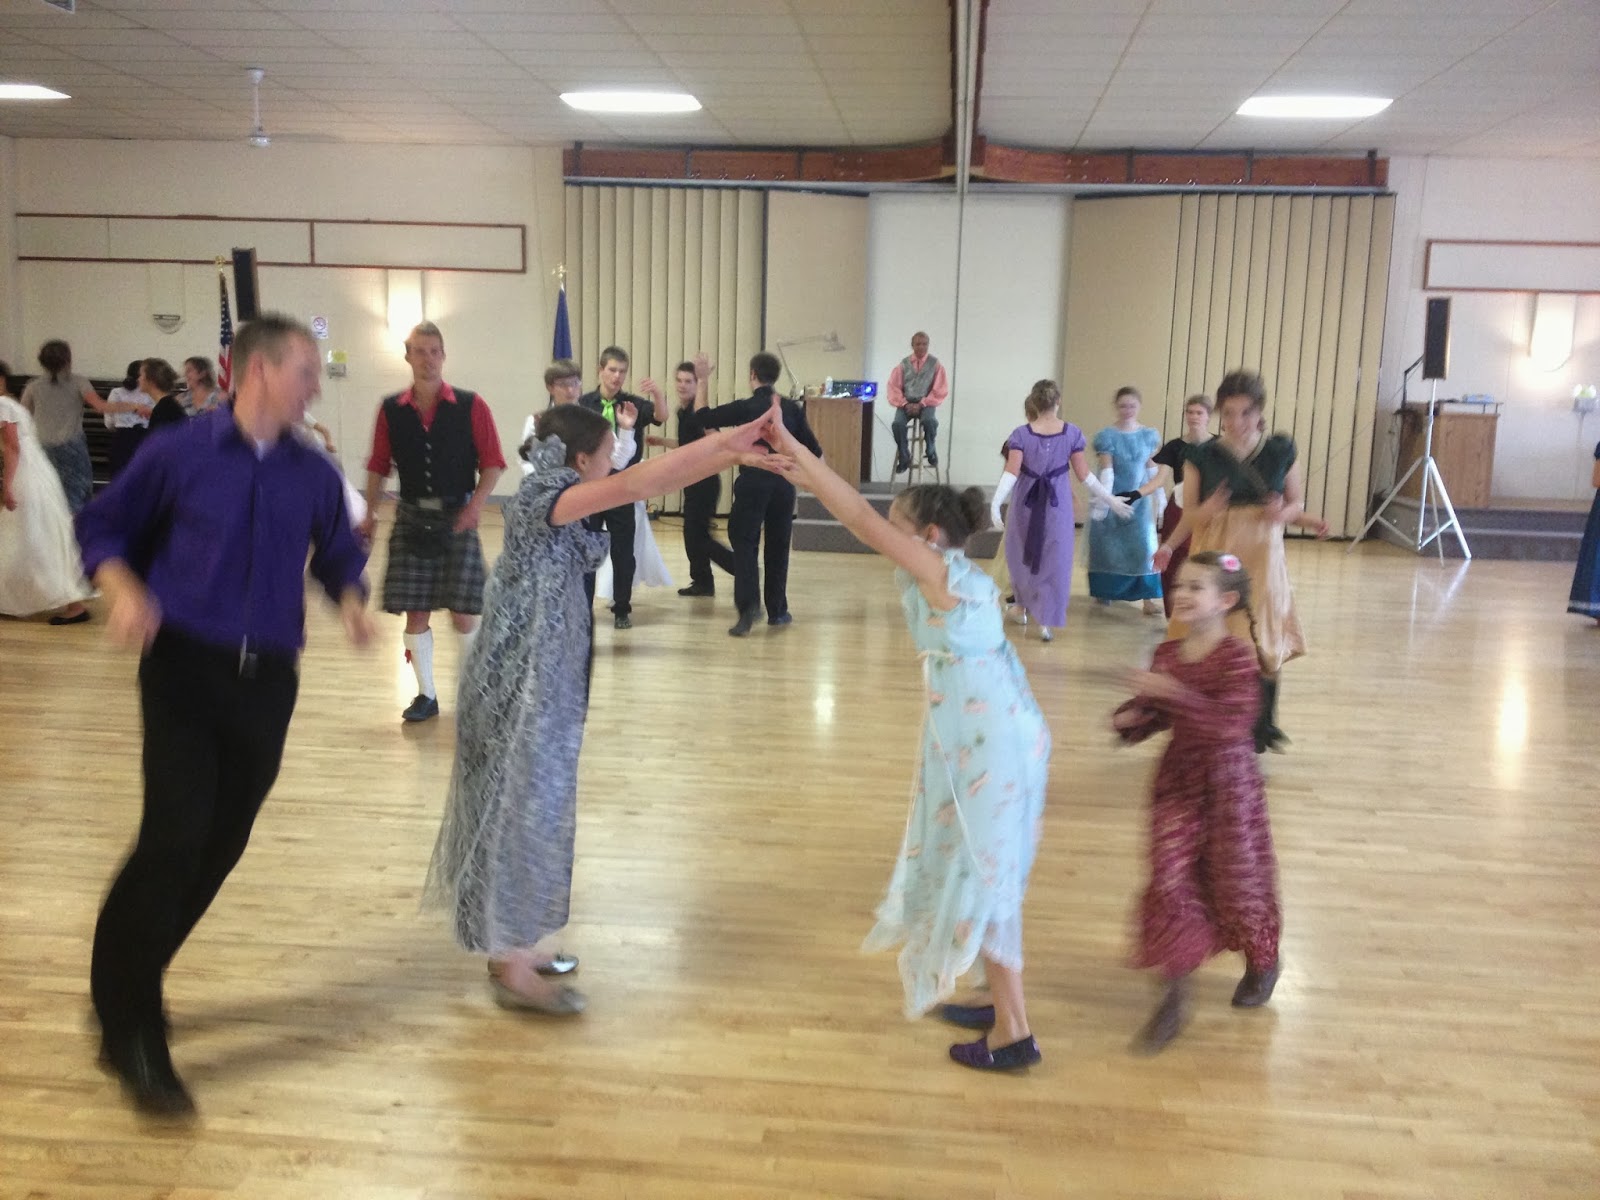
These are the only pictures that I have of my dress; I wish I had more.